This website uses cookies to ensure you get the best experience on our website. Read more
Workshop of Lacquered Icons
![]()
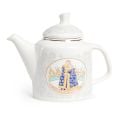
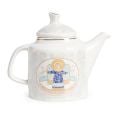
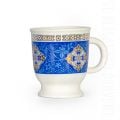
The everyday tasks of the lacquered icon on wood workshop includes the creation of different folding icons, crosses, icons of various sizes as well as icons for iconostasis in churches.
The creation process of the lacquered icons can be quite intricate and requires multiple steps. It beings with the preparation of the wooden surface on which the image will be placed. Large wooden boards are separated into smaller panels, on which the edges are smoothed out into an oval shape in order to achieve the desired final form. Then the prepared boards are separated into a collection of wooden sheets called lamellas. Each individual lamella is then carefully polished. The sheets are then glued back together into one.
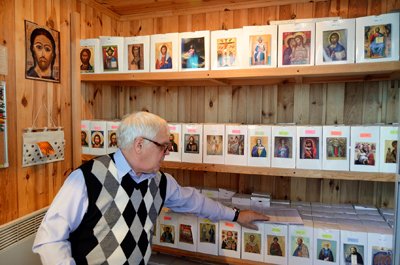
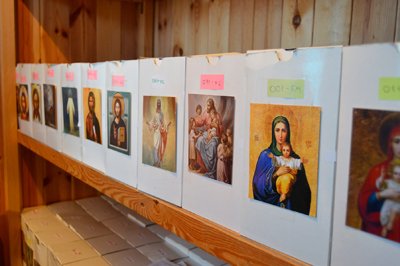
The second step required work with the images for the icon. A majority of the images are kept in a special storage. The images in storage are already laminated and ready for placement unto the wooden panels.
The images are sorted into special groups based on the required orders that are placed. They are then given to the workers who begin the process of placing them unto the wooden panel.
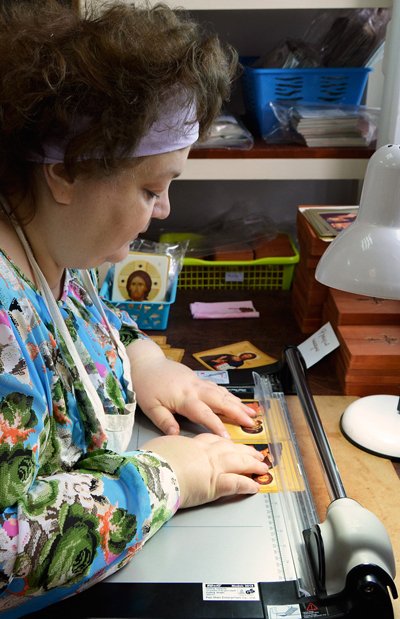
The next step begins at a special shelf where the panel and icon are taken.
Images taken from storage are made to match the size of the wooden panel. The edges are cut and rounded and a specialist at the workshop verifies the symmetry of the image.
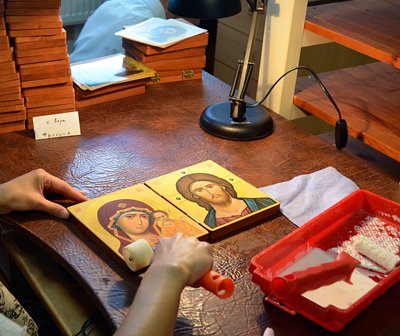
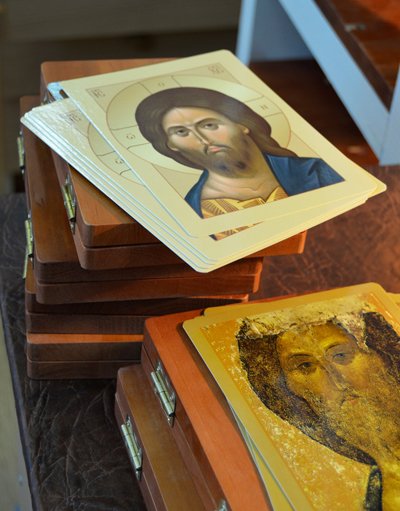
Then a special glue is applied unto the entire surface of the wooden panel, after which the image is placed on top of the board and is compressed with a special fabric to ensure the image is firmly attached unto the board. Afterwards, special polish is applied on the edges of the image. It serves as an additional level of protection and guarantees firm adhesion of the image.
The newly created lacquered icon on wood then needs to dry thoroughly.
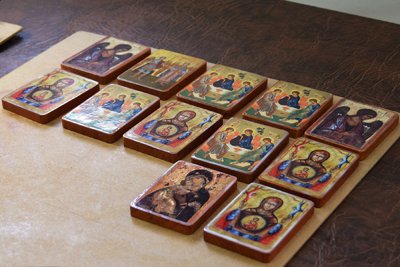
Once the icon is fully dry, it is blessed and a stamp of the convent is placed on the back of the icon.